Posing Basics for Models: A Coach's Guide
By Alina Pavlushova · Modelling coach
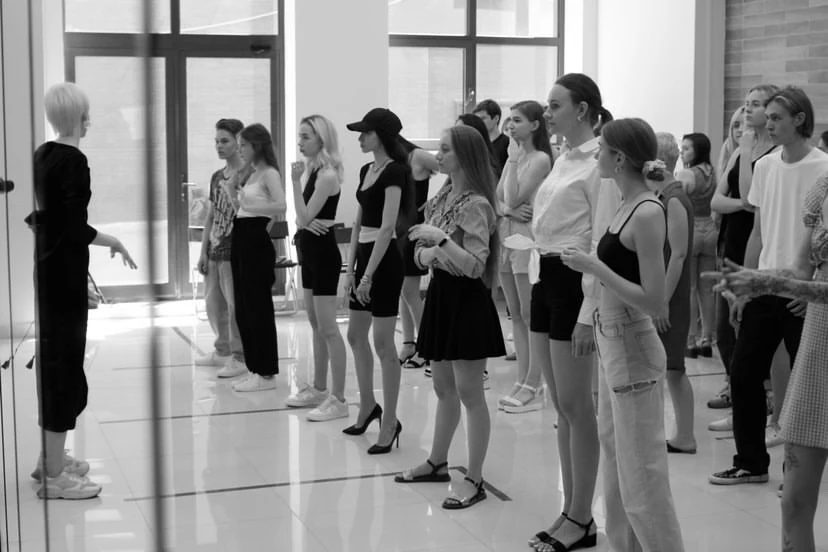
Over the years I've heard the same sentence from dozens of girls: "I just can't pose." And almost always there's a belief behind it that posing is an inborn gift, a photogenic quality you're either born with or not. That's not true. Posing is a skill, just like a walk or driving. It's taught, it's trained, and any girl with normal coordination can learn to look confident and deliberate in front of the camera.
I went through this myself, from my first tense test shots to the Gucci runway and covers, and later I studied posing with Coco Rocha in New York — someone who quite literally turned working with a pose into a discipline of its own. And the main thing I took away: a beautiful pose is born not from trying to be beautiful, but from controlling your own body. Once you understand the mechanics — where the weight goes, what the axis does, where the hands live — the frame stops being a lottery.
This article is the foundation I start from with every model. Let's go through it in order: where a pose begins, how posture and angles work, what to do with the hands and legs, how to hold the face and the gaze, how to move, and how to train at home. In short, this is the answer to how to learn to pose from scratch without looking tense.
Posing is controlling the body, not trying to be beautiful
The first thing I explain to every student: the camera doesn't see you — it sees the shape your body creates. So posing isn't about "making a pretty face", it's about consciously controlling the lines: the shoulders, the axis, the weight, the hands, the tilt of the head.
When a beginner tries to "be beautiful", the body tenses up: the shoulders rise towards the ears, the neck sinks, the hands stick to the torso, the gaze glazes over. When a model controls the body part by part — weight here, shoulder there, chin slightly forward and down — the frame comes alive on its own. Beauty here is a by-product of technique, not the goal.
That's the key shift in your head: stop trying to please the camera and start working with it.
Where a pose begins: the axis, the base and the weight
Every pose is built on three supports, and I always ask you to start with them.
The body's axis. This is an imaginary vertical line from the crown of the head downwards. When the axis is straight and elongated, you look composed; when it's "broken" by tension or a slouch, the whole pose collapses.
The distribution of weight. This is the basis art calls contrapposto: the weight shifts onto one leg while the other stays free. The body instantly stops being a "tin soldier" and gains a natural curve — the hips move to the side, a line appears. Standing frontally with the weight even on both legs is the most common and most "dead" pose of a beginner.
The base. Decide in advance what you're standing on or leaning against. A clear base removes the fidgeting: the body knows where it is and stops "drifting".
I always say: until you feel the axis and the weight, don't think about the hands and face. This is the foundation, and the pretty details won't hold without it.
Posture and "elongation": how the body becomes longer
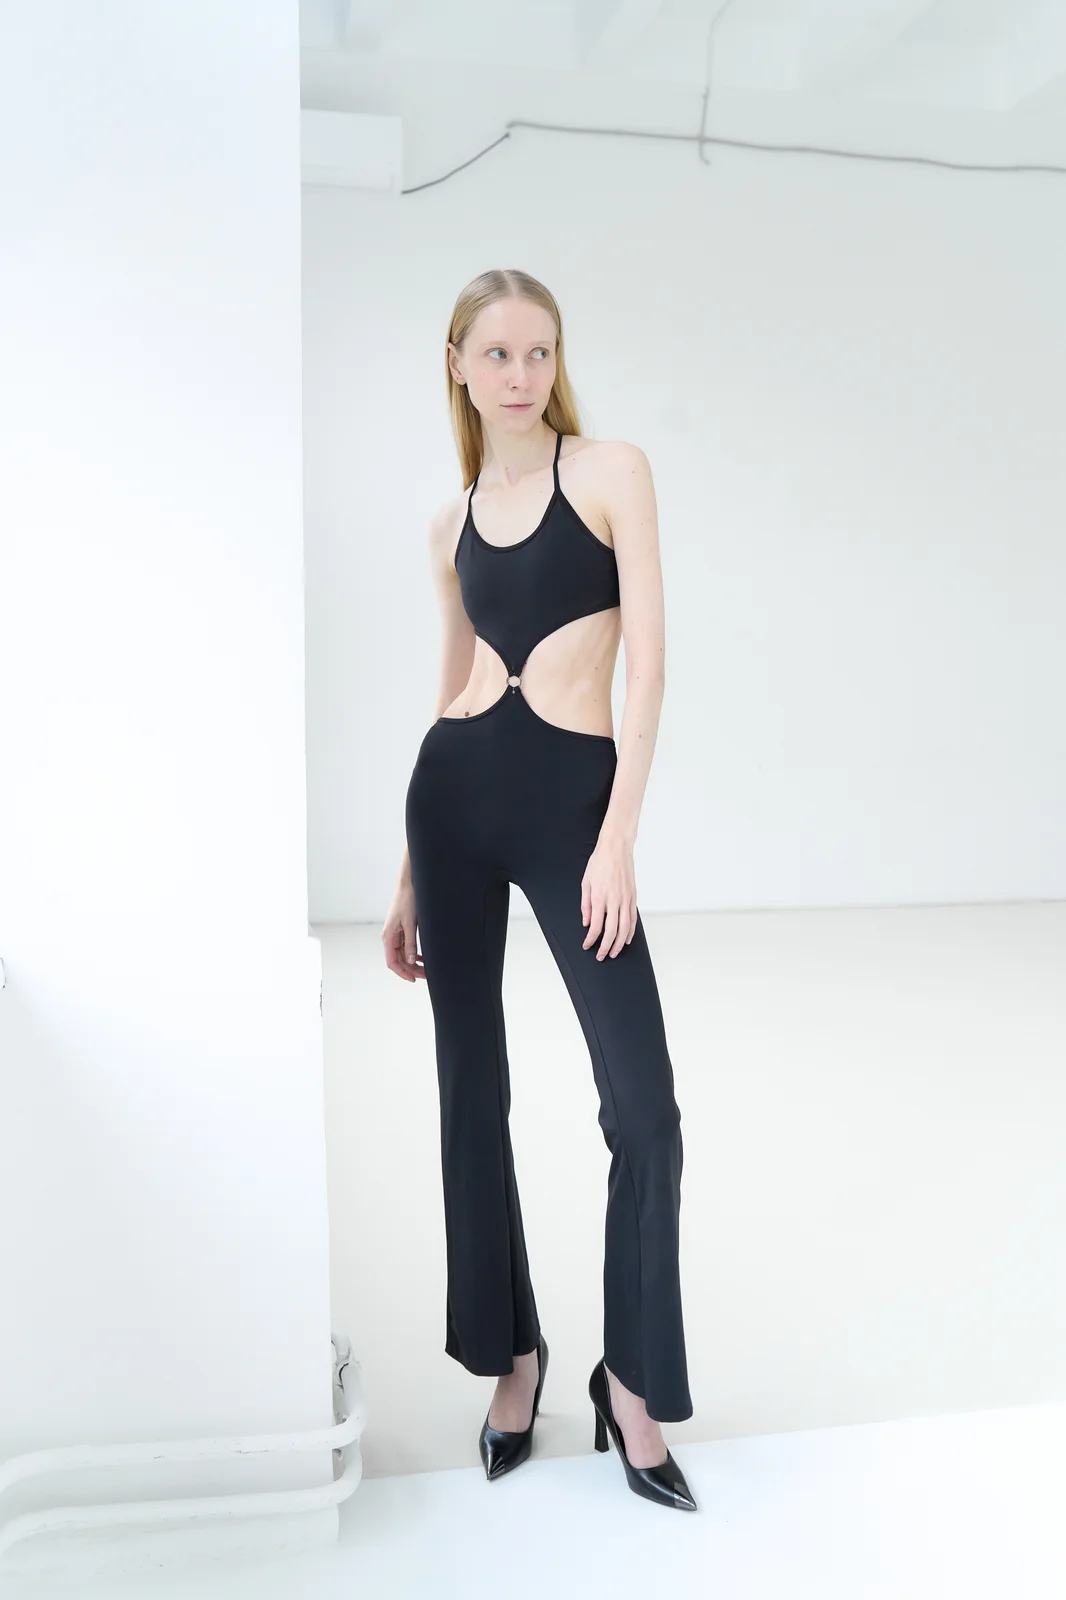
The camera shortens and widens. So nearly all of posing technique comes down to one principle — elongation: you make yourself a little longer and slimmer than you are in life.
What elongation includes:
- the crown of the head reaches upwards, as if on a string;
- the neck lengthens, the shoulders drop down and slightly back;
- the chest is open, but without an arched back;
- the stomach is gently drawn in, without holding the breath.
An important nuance: elongation is not tension. If you "elongate" through a clench, the camera reads it as stiffness. Proper elongation feels like lightness and length, not effort. You learn this with the body, through repetition.
Working with angles: the body doesn't like being frontal
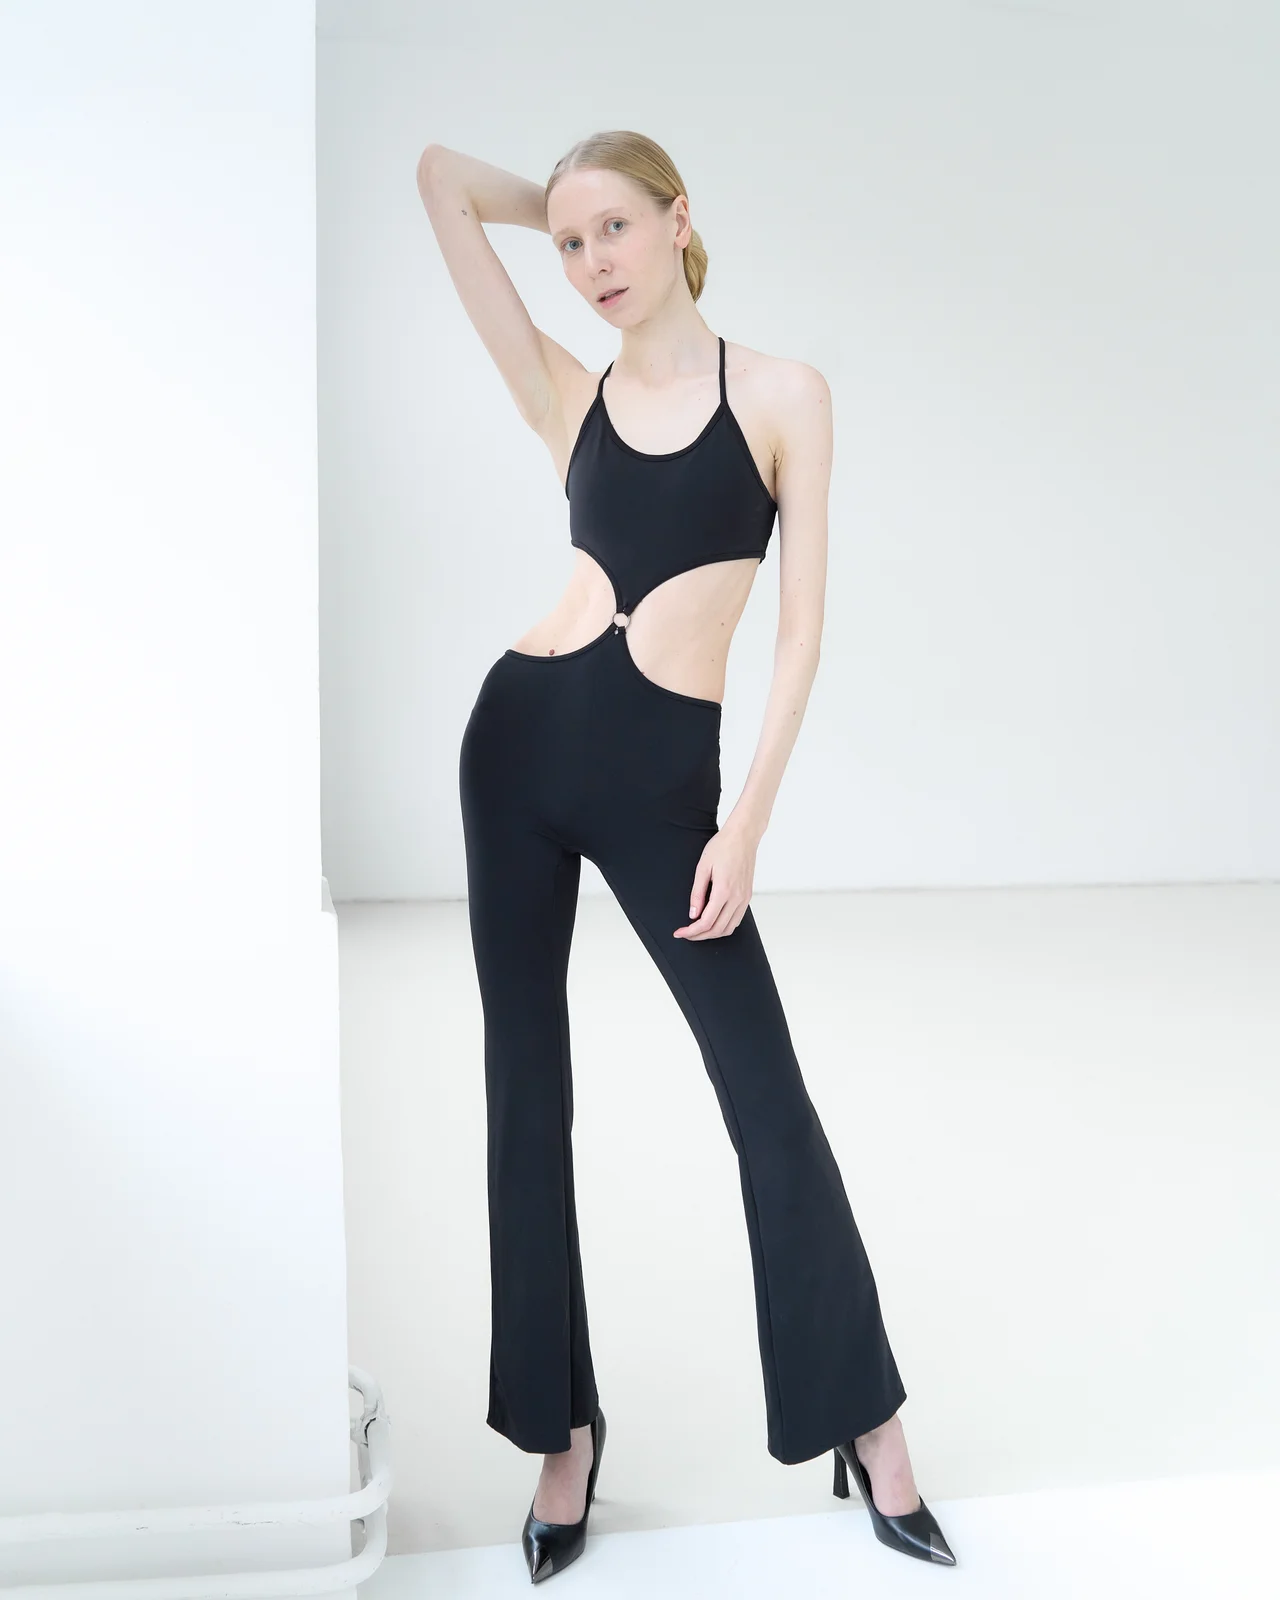
Remember the rule that solves half a beginner's problems: a frontal pose almost always loses to a turn.
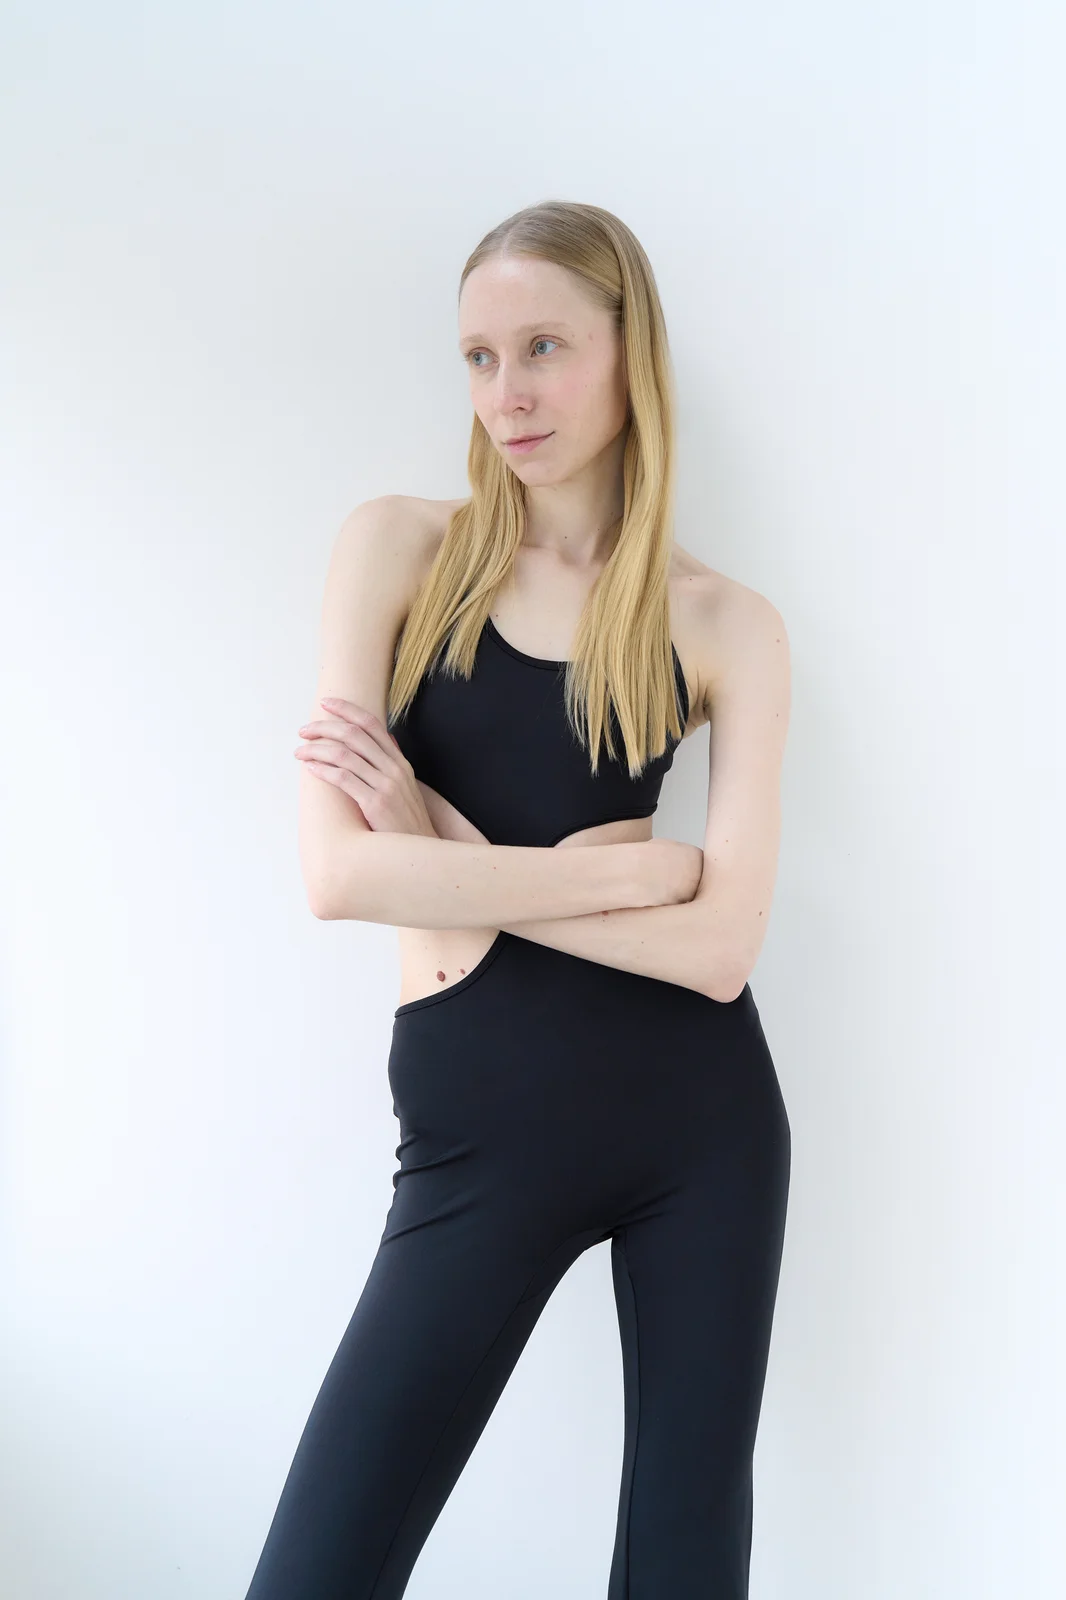
When you stand square to the camera, the body looks wider and flatter. Turn the torso to three-quarters, bring one shoulder forward, move a hip slightly aside — and shape, depth and a slimming line appear.
The basic techniques:
- Three-quarters. Turning the torso about 45 degrees is the most universal and flattering angle.
- Asymmetry. The body looks good when the lines aren't mirror-symmetrical: one shoulder higher, one leg bent, the head with a slight tilt.
- The "far" hand and leg. What's closer to the camera looks larger. So the slimming side moves a little further away, and the near side isn't pushed forward.
- Gaps. A frame needs "holes" — a gap between the arm and the torso, between the legs. An arm pressed to the body merges into a mass and adds bulk.
This is the mechanics you see in any strong editorial shoot: shape is built with angles, not with the face. An honest caveat: frontal isn't forbidden. In fashion and editorial it's used deliberately, for power and symmetry. But as a universally flattering angle, the three-quarter turn wins almost every time — and that's where to start.
Hands and wrists: where poses die
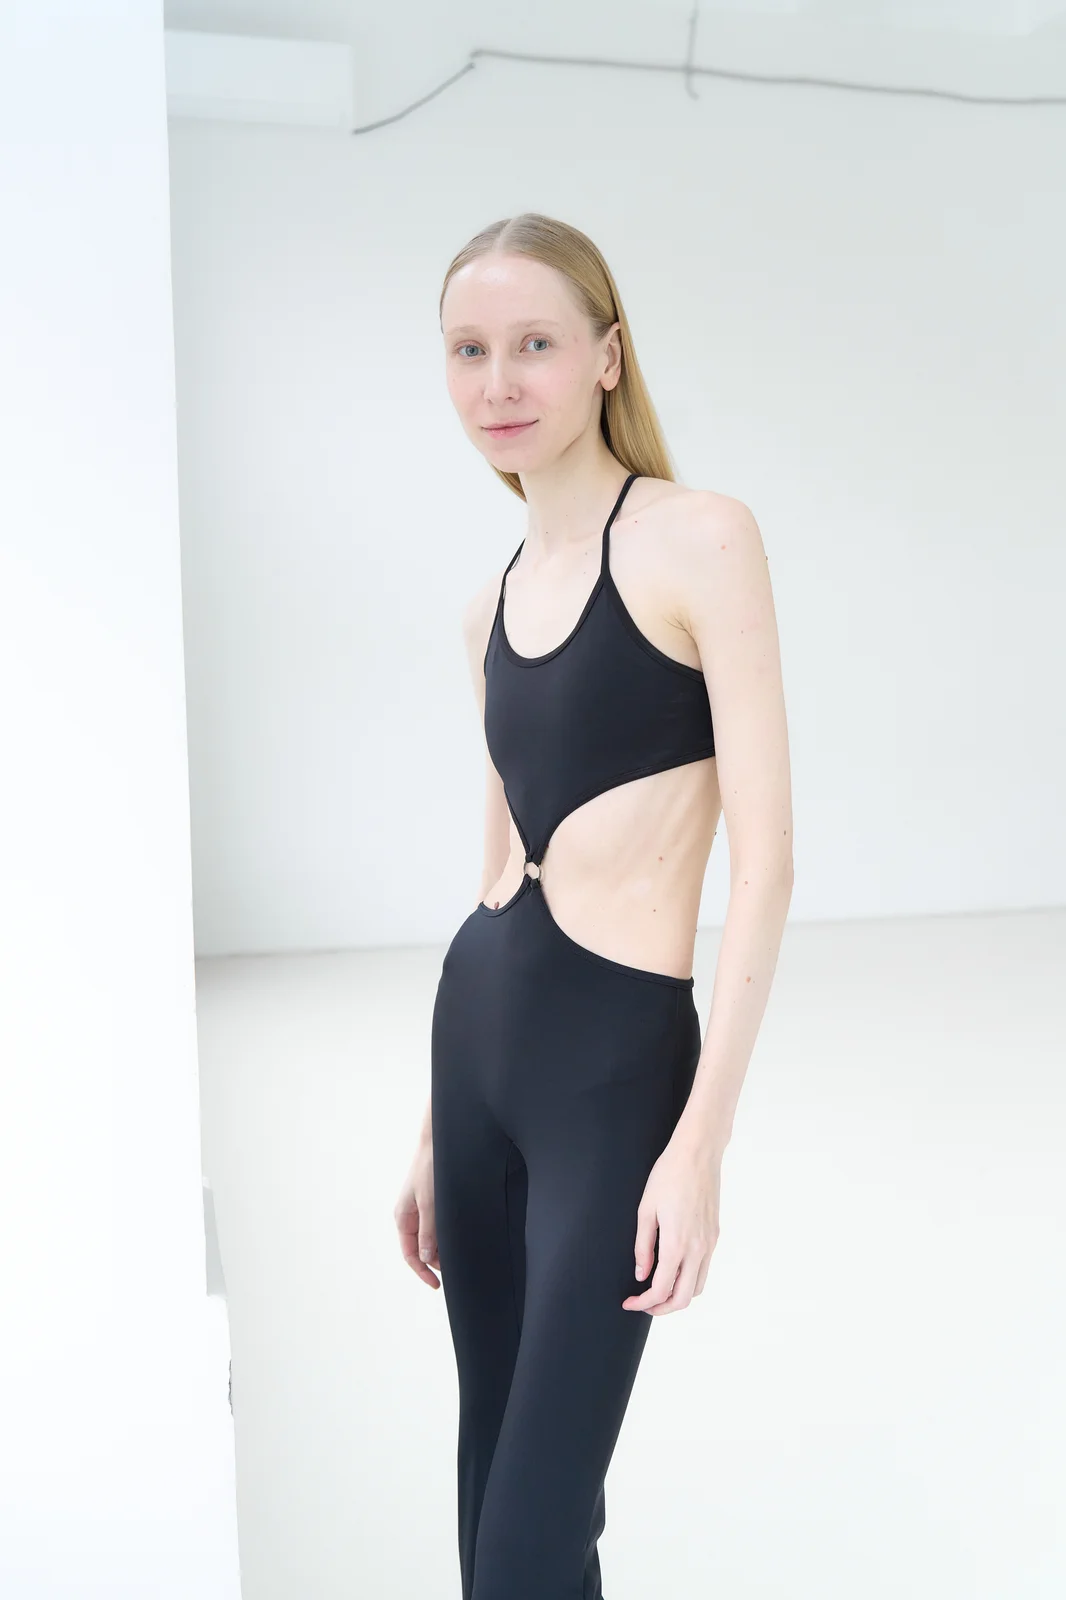
I'll be honest: the hands are the hardest part of posing, and they're exactly where most beginners come undone. The hand tenses, the fingers splay or clench into a fist, the arm sticks to the hip — and the whole pose falls apart.
What's important to understand about the hands:
- The hand is always soft. Relaxed fingers, a slight bend of the wrist. No "shovel" of splayed fingers, and no tense fist.
- The hand must be doing something. The worst hands are the ones just hanging. Give them a task: touch the hair, the hip, the collarbone, the edge of the clothing, or rest on a surface.
- Show the edge of the hand, not the back of it. The palm facing the camera looks flat; the edge looks elegant.
- Don't press the elbows in. That same gap between the arm and the torso makes the figure slimmer.
I always advise training the hands separately from everything else — in front of a mirror, slowly, until a soft, purposeful hand becomes a habit. It pays off instantly.
Legs and feet: stability and line
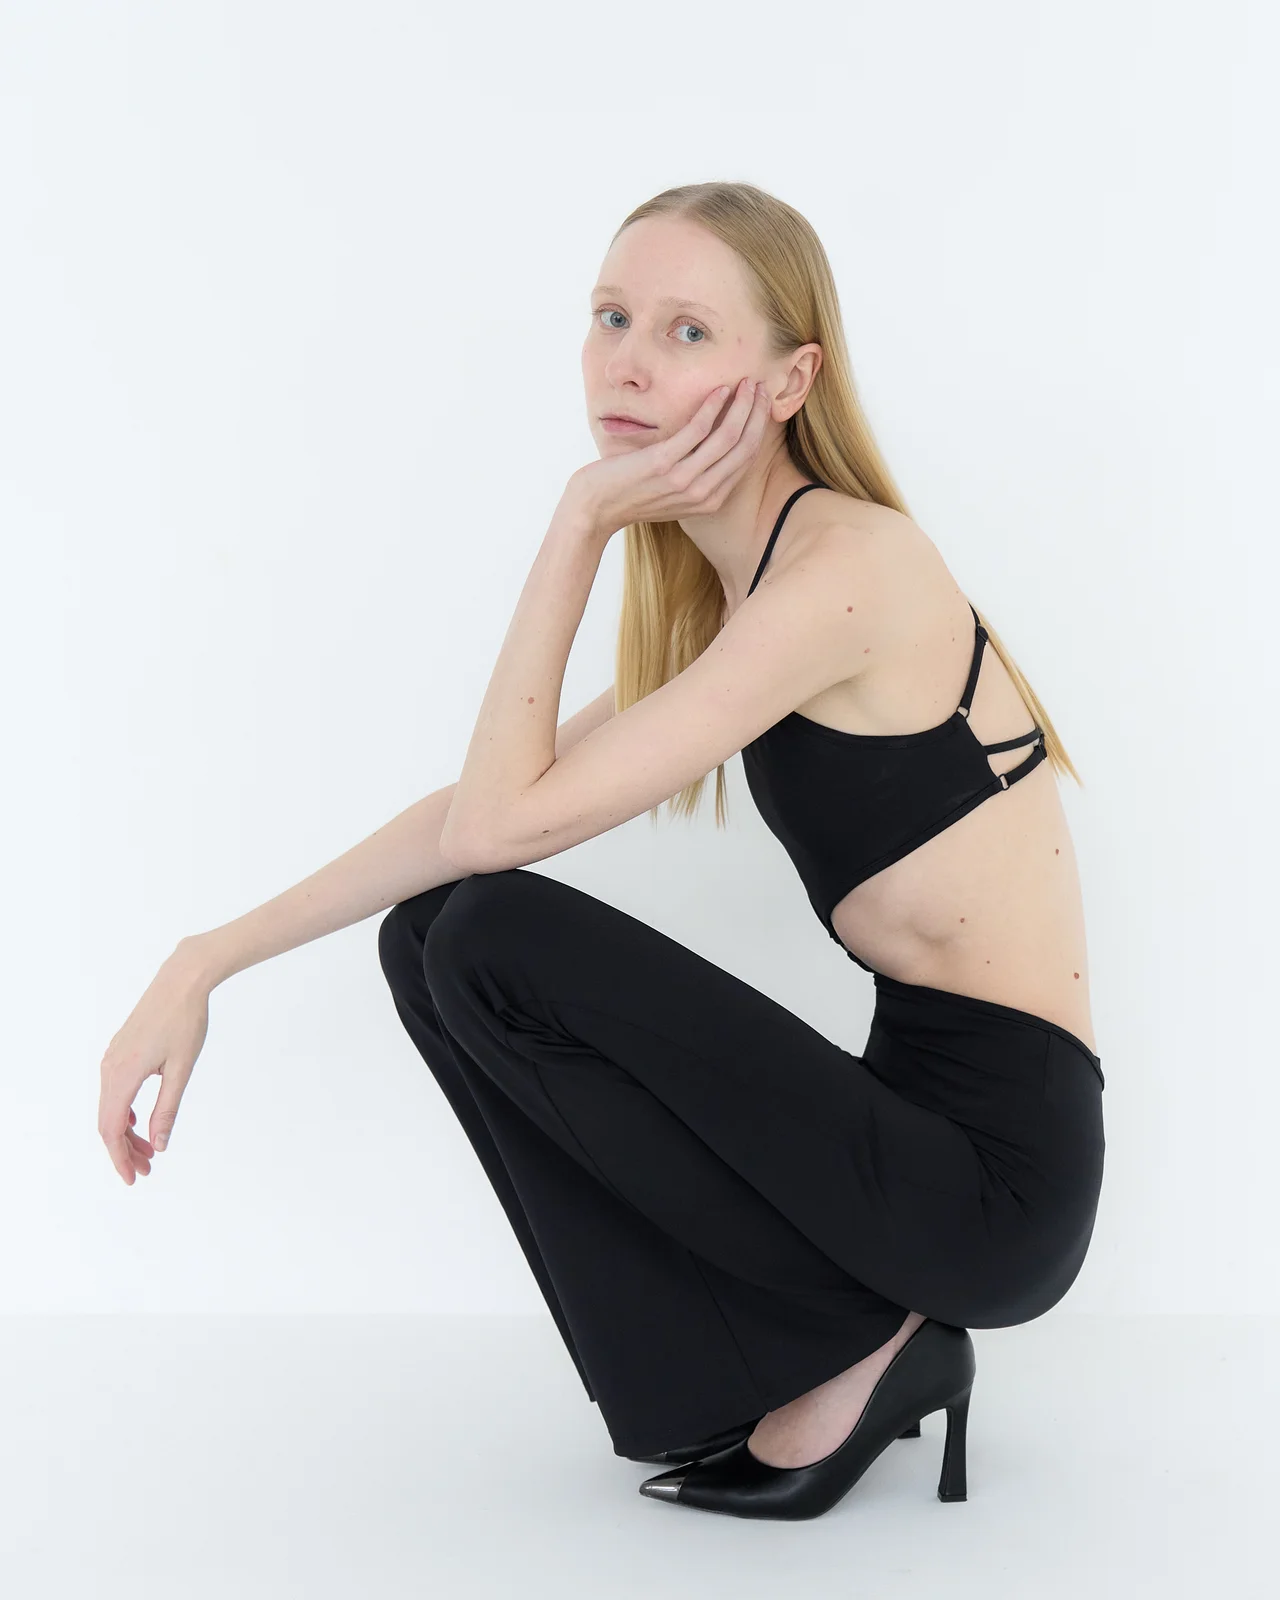
The legs set the whole architecture of a standing pose.
- Weight on the far leg. The supporting leg is the back one; the front one is free, slightly bent or brought forward. This lengthens the leg and creates a curve.
- Feet at an angle, not parallel. Turned-out toes look more natural and elegant than "skis".
- Don't lock the knees. A micro-bend in the knee removes the stiffness.
- The arch and the toe. In a shoot in heels or barefoot, a pointed toe and a lifted arch lengthen the line of the leg.
In a full-length shot the legs decide a great deal: if the lower half is tense and frontal, the upper half won't save it.
The face, the gaze and the chin
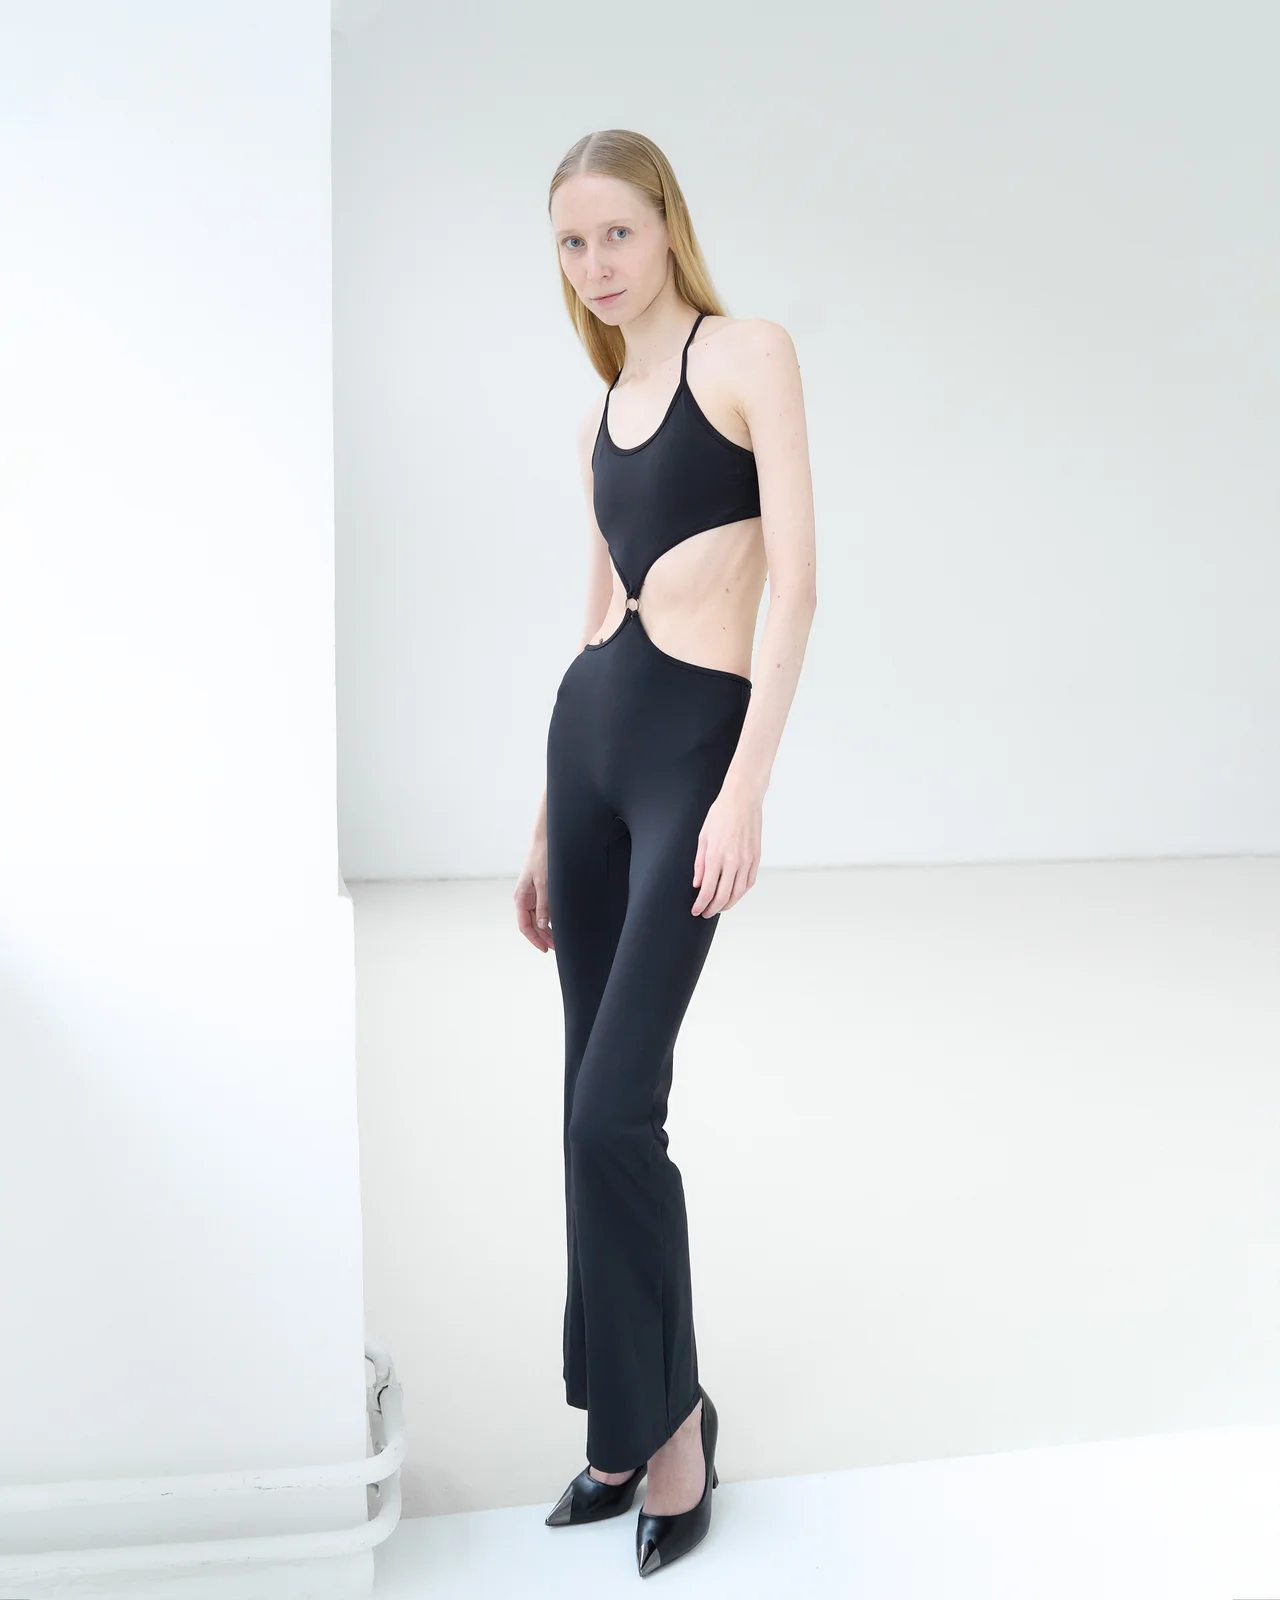
The face is the final layer, and you need to work with it as deliberately as with the body.
- Chin slightly forward and down. This "straightens" the neck, removes a double chin and makes the gaze more expressive. A lifted chin almost always loses.
- A meaningful gaze, not an empty one. A glassy stare is the chief affliction of beginners. Think about something specific, "switch on" your eyes from within — this is what Coco Rocha calls working with the gaze.
- A soft face. The jaw relaxed, the forehead without tension. A clenched smile reads as anxiety.
- Micro-expression. Subtle changes — slightly parted lips, a faint squint, a barely-there smile — give character. Force and overplaying kill the frame.
My own aesthetic is a restrained, "quiet" delivery: less force, more inner state. On camera that almost always beats acted-out emotion.
The line of the shoulders and the neck
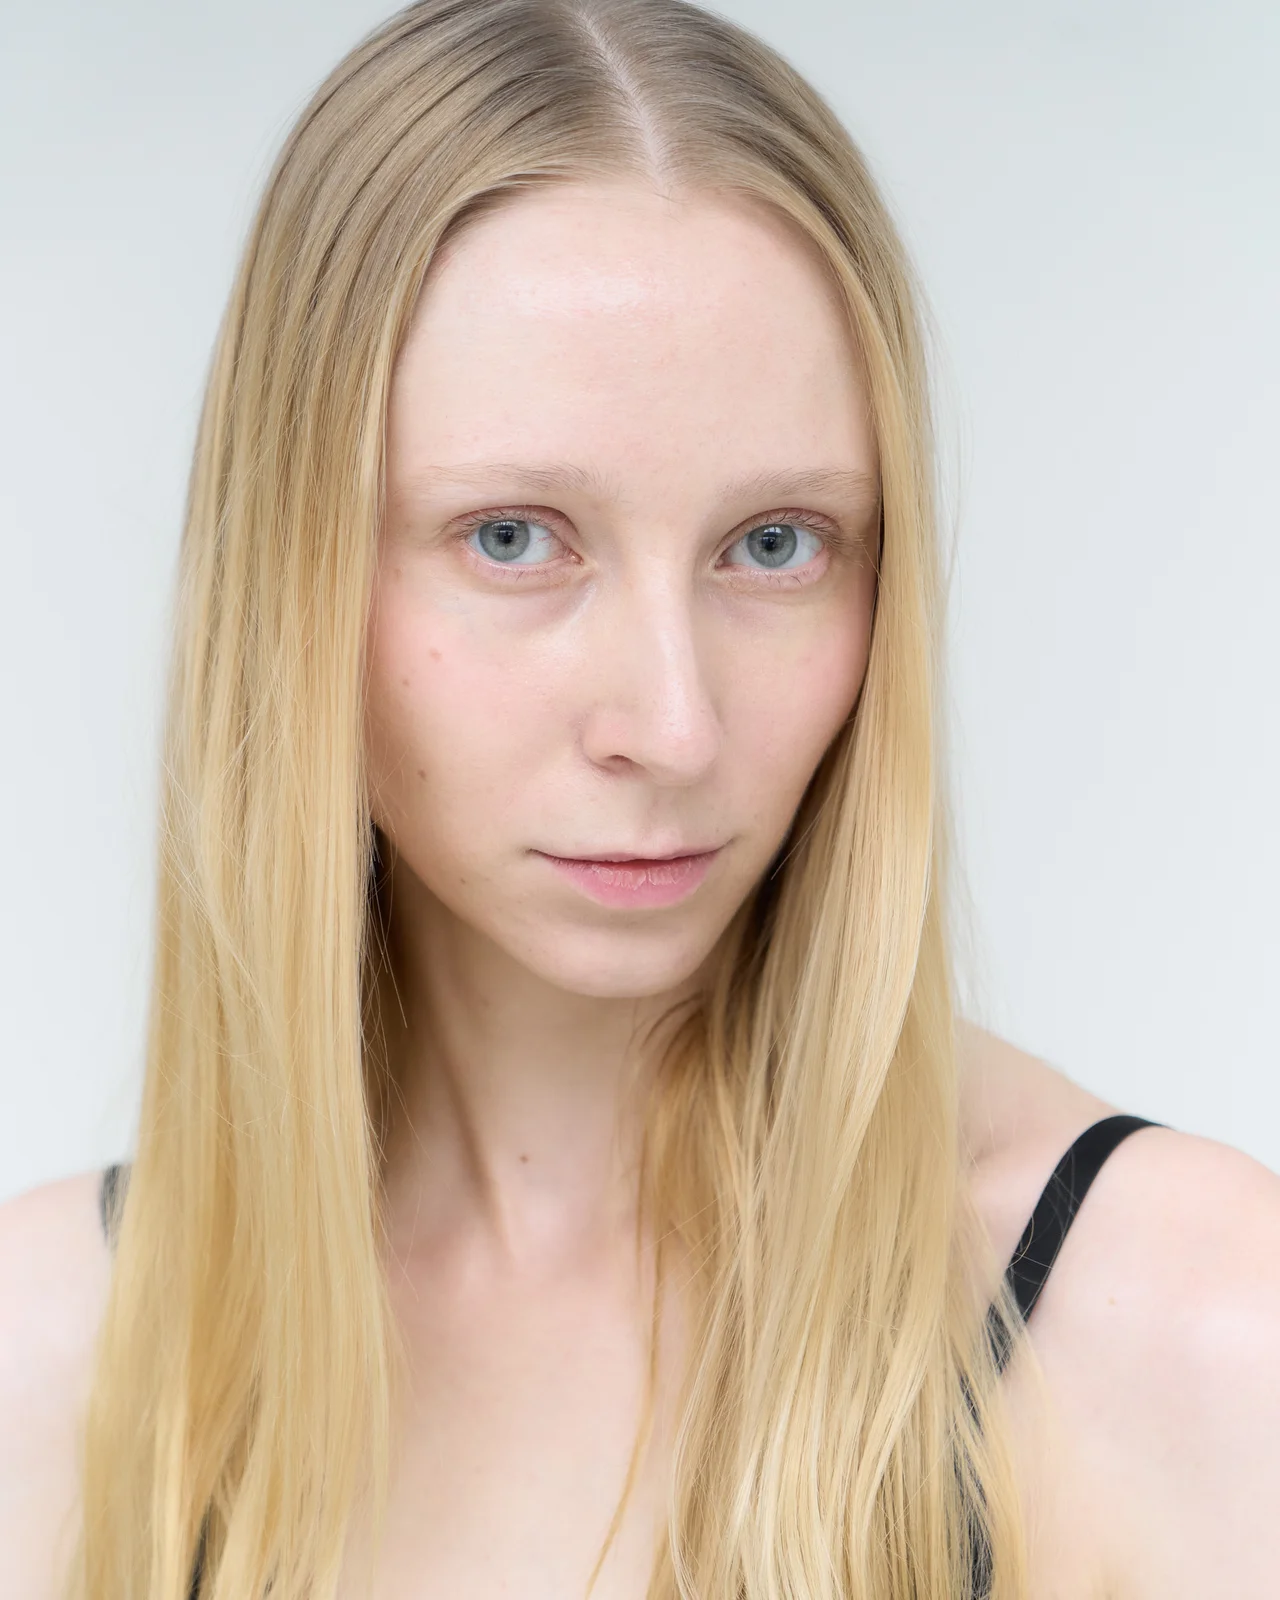
The shoulders and neck are the first thing to give away tension. Shoulders raised towards the ears instantly make you look stiff and "short".
The rule is simple: shoulders down, neck long. Drop the shoulders, turn the shoulder line slightly (one nearer, one further) and lengthen the neck by reaching up through the crown of the head. A slight tilt of the head adds softness and femininity — but slight, without a crease.
Breathing and relaxation: where naturalness is born
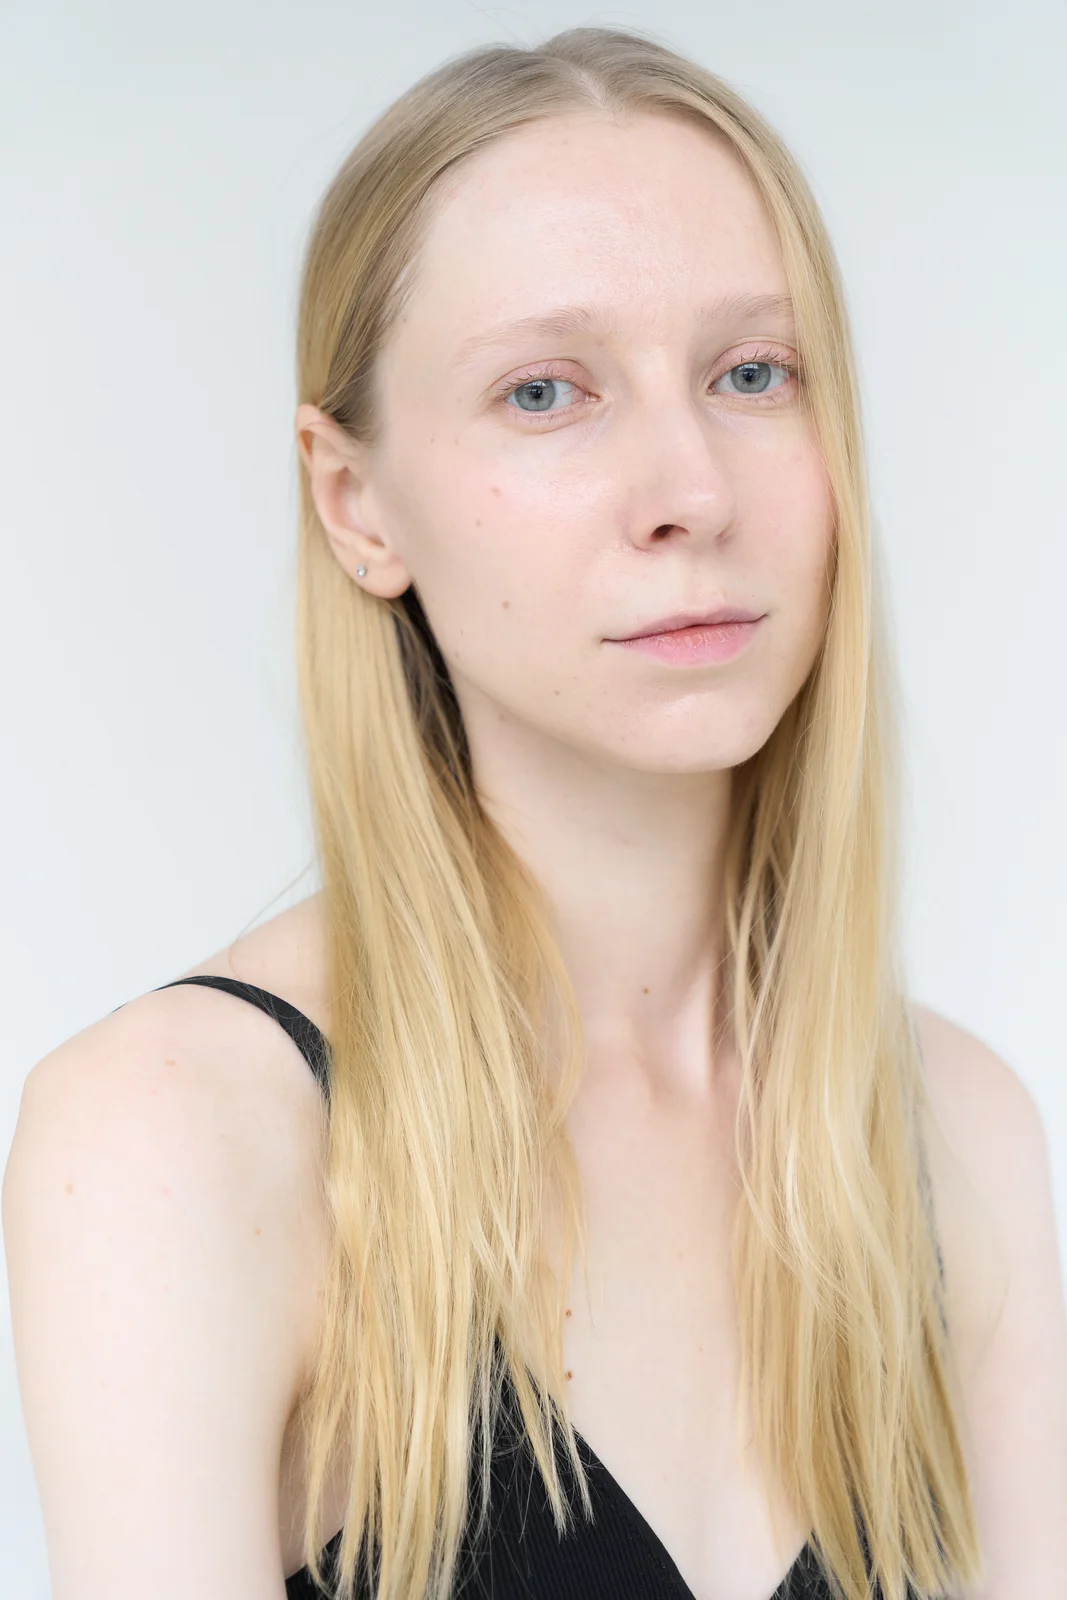
The most common cause of "wooden" frames is holding the breath. When you hold the air out of sheer effort, the body turns to stone, and it shows.
What helps:
- breathe evenly during the shoot, don't freeze;
- between frames, "reset" the body — shake out your arms, relax your shoulders;
- look not for maximum tension but for the minimum that's enough: just enough tone to hold the shape, and not a gram more.
Naturalness isn't the absence of technique — it's technique that's become invisible.
Movement, not freezing
The main secret of living frames: the best pose is almost always in motion. A frozen, perfectly set pose often looks dead. But a slight movement — a turn of the head, a step, playing with the hair, a shift of weight — gives the naturalness you can't fake with stillness.
I teach models to work in series: not to freeze in one pose but to flow smoothly from one into the next, giving the photographer a stream of frames. The micro-movements between the "points" are where the best photographs are born.
How to work with the camera and the photographer
The mirror and the camera are different things. At the mirror you look for your angles; at the camera you deliver the result. A few principles:
- Know your good sides. Everyone has a "working" angle of the face and flattering poses — you find them on test shoots and lock them in.
- Listen to the photographer, but don't switch off your head. A good model doesn't wait for a command for every movement but offers options herself.
- Don't fixate on one frame. If a pose isn't working, change it rather than "forcing" the tense one.
- Trust the process. Out of a hundred frames only a handful will be keepers, and that's the norm, not a failure.
Typical beginner mistakes
| Mistake | How to fix it |
|---|---|
| A frontal pose, weight on both legs | Turn to three-quarters, shift the weight onto the far leg |
| Shoulders raised towards the ears | Drop the shoulders, lengthen the neck through elongation |
| Splayed or clenched fingers | Relax the hand, show the edge of it, give the hand a task |
| A lifted chin | Chin slightly forward and down |
| An empty, glassy gaze | "Switch on" the eyes from within, think of something specific |
| Holding the breath, a tense body | Breathe evenly, release the tension between frames |
| Arms pressed to the torso | Create a gap between the arm and the body |
| A frozen, static pose | Move in series, flow from pose to pose |
How to train at home
Posing is trained like any skill — through repetition. What actually works:
- The mirror. Drill the basics slowly: axis, weight, shoulders, hands. First separately, then together.
- Video and photos. Film yourself on your phone and review it — the camera shows what you can't see in the mirror. It's the most honest teacher.
- References. Collect poses that speak to you (editorial, campaigns) and break down their mechanics: where the weight is, where the angles are, what the hands are doing.
- Regularity. Ten minutes a day gives more than three hours once a month. The body remembers through repetition.
The most valuable thing is to film yourself on video and analyse it. That's exactly how tense movements turn into deliberate ones.
Psychology: how to stop tensing up
Technique decides a lot, but not everything. Tension in the frame almost always comes from the head: the fear of looking silly, self-judgement, the attempt to control every little thing.
What helps you relax:
- focus on the task (weight, angles, breathing), not on how you look;
- allow yourself imperfect frames — they're part of the process;
- move, don't freeze: movement quiets anxiety better than any "just relax";
- remember that confidence comes from skill, not the other way round. Technique first, then courage.
I always tell my students: you're not required to be confident from day one. You're required to train — and the confidence will come of its own accord, as a result.
Conclusion: posing can be learned
Posing is a craft, not magic. Behind a beautiful frame is clear mechanics: a straight axis, the right weight, an elongated posture, flattering angles, soft purposeful hands, a long neck, a living gaze, and movement instead of freezing. Master this base and you stop depending on luck, the light and the photographer's mood.
I've watched tense beginners turn, over a few weeks of deliberate work, into models who no longer need to be told where the weight goes on a test shoot. It's a matter of practice, not talent. Start with the foundation, train regularly, film yourself — and the body will learn to speak the language of the camera on its own.
If you'd rather walk that path faster and with feedback, come and train with me: we'll work through your posture, angles and hands in practice. From there this base works on any market — I've written honest guides to Milan and South Korea, and a comparison of the big four capitals for when you're choosing where to start.
For an example of these principles on set, read about my first couture campaign in Serbia: sculptural dresses, a heavy antique prop and poses that reveal the garment's shape.
Frequently asked questions
Can you learn to pose from scratch?
Yes. Posing is a skill, not an inborn gift. With an understanding of the body's mechanics (axis, weight, posture, angles) and regular practice, almost any girl can learn.
Where do you start learning to pose?
With the foundation: the body's axis, shifting the weight onto one leg (contrapposto) and the posture of elongation. Until those three things become second nature, don't load yourself with complex poses, hands and expressions.
Why do I look tense in photos?
Most often because of a frontal pose, raised shoulders, pressed-in arms and holding the breath. Turn to three-quarters, drop the shoulders, create a gap between the arms and the torso and breathe evenly — and the tension will go.
What do you do with your hands in the frame?
Keep the hand soft and give it a task: touch the hair, the hip, the edge of the clothing, or a support. Show the edge of the hand, don't press the elbows to the torso and don't splay the fingers. The hands are the hardest part — train them separately.
How do you make your legs look longer in photos?
Shift the weight onto the far leg, bend the front one slightly or bring it forward, turn the feet at an angle and point the toe. A micro-bend in the knee and the line from the hip lengthen the leg.
How do you avoid an empty gaze?
"Switch on" your eyes from within — think of something specific rather than staring into space. Chin slightly forward and down, the face and jaw relaxed. A meaningful gaze is what separates a model from a beginner.
How do you train posing at home?
Work at the mirror on the basics in parts, film yourself on video and review it, and collect and analyse references. Ten minutes of deliberate practice a day gives more than rare long sessions.
Do you need to be photogenic to come out well?
"Being photogenic" is largely the result of technique and knowing your flattering angles, not magic. You find them on test shoots and lock them in with practice.
Is it better to pose statically or in motion?
In motion. A frozen pose often looks dead, while a slight movement — a turn of the head, a step, playing with the hair — gives naturalness. Work in series, flowing smoothly from pose to pose.